Before you begin configuring the transmitter, determine how you want to use your system:
- 1-dog System or 2-dog System
- Front or Side buttons for Dog 1
Please read all steps before starting. If you plan on adding a second receiver later, use the 2-dog setup instructions.One Dog Transmitter Setup:
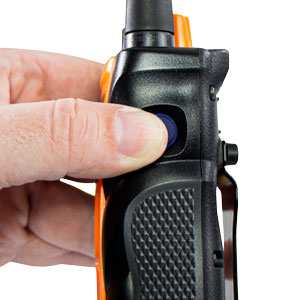

1. Make sure the transmitter is off. Hold the on/off button on the transmitter until there is a rapid green LED light and the screen shows "Setting Mode."
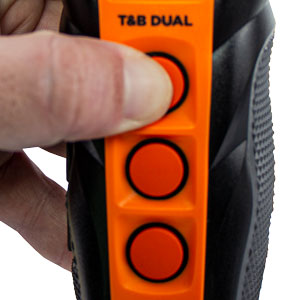
2. Press the top button to set the transmitter as a 1-dog system.

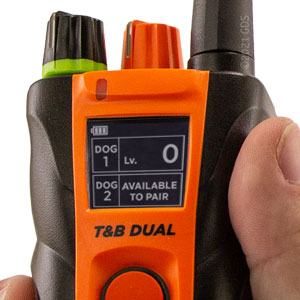
3. Select which buttons you wish to control the receiver: 1 (Front) or 2 (Side). The screen will then show that Dog 1 has been set up and that the Dog 2 position is "AVAILABLE TO PAIR" if needed.
If you want to switch buttons, start over by going back to step 1.
Two Dog Transmitter Setup:


1. Make sure the transmitter is off. Hold the on/off button on the transmitter until there is a rapid green LED light and the screen shows "Setting Mode"
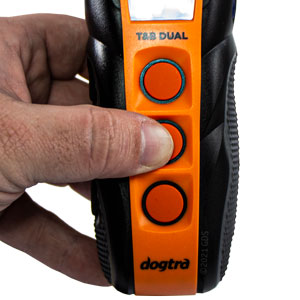
2. Press the middle button to set the transmitter as a 2-dog system.

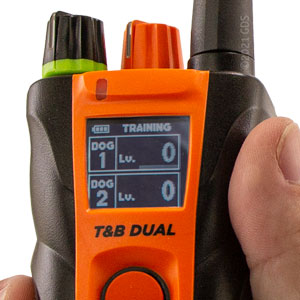
3. Select which buttons you wish to control each receiver: 1 (Dog 1 Front, Dog 2 Side) or 2 (Dog 1 Side, Dog 2 Front)
The screen will show that both ‘Dog 1’ and ‘Dog 2’ have been set up.
If you want to switch buttons, start over by going back to step 1.
Collar Setup:

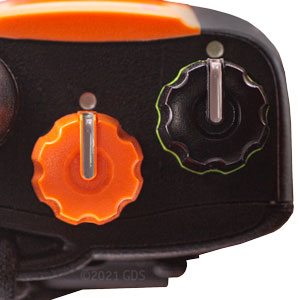
1. Turn the transmitter on. Set both rheostat dials to 0.
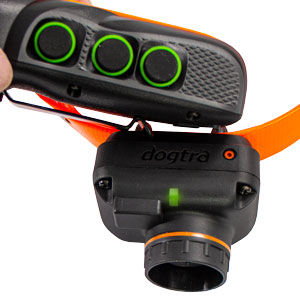
2. With the receiver turned off, place the red dot on the transmitter to the red dot on the receiver. Hold the two red dots together until the green LED blinks rapidly on the receiver. When the receiver light blinks rapidly, separate the two devices.
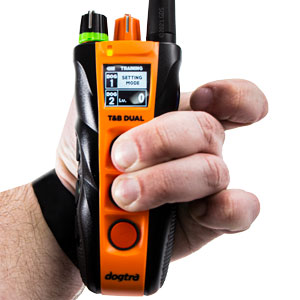
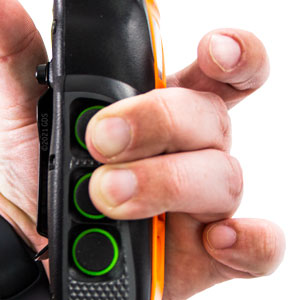
3. For Dog 1, simultaneously press the top two buttons on the transmitter you previously configured for Dog 1. When pairing is complete, the LED light on the receiver flashes every 4 seconds.
If you are configuring a 2-dog system, for Dog 2 repeat the entire Collar Setup process and press the top two buttons on the transmitter you previously configured for Dog 2.
NOTE: Do not code both receivers to the same side.


